
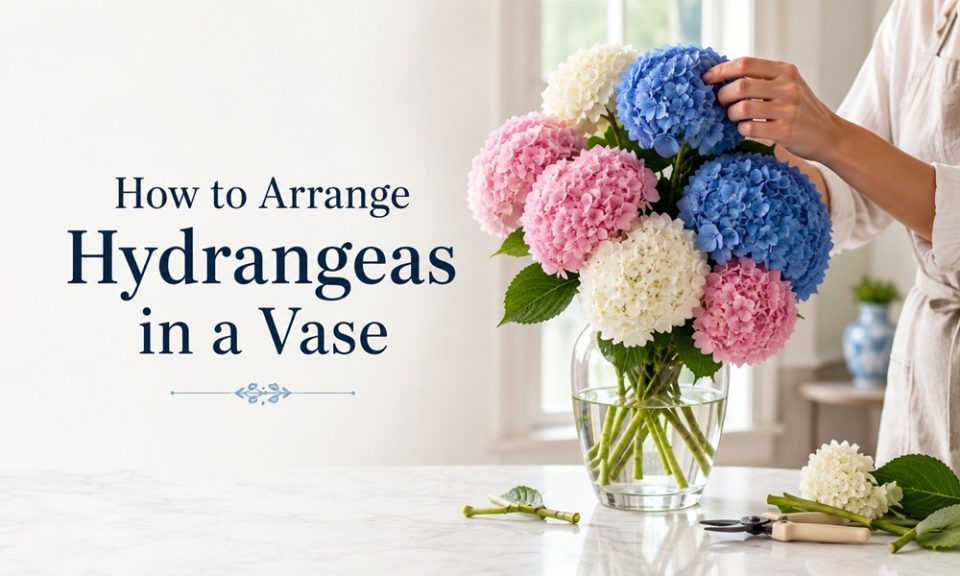
Hydrangeas are the flower that arranges itself. One or two heads fill a vase. The blooms hold each other up. You barely have to try.
There’s just one catch. They wilt fast if you cut and drop them in water the ordinary way. People buy a gorgeous bunch, and by the next morning the heads are drooping over the rim like they’ve given up.
The fix isn’t luck. It’s a couple of florist habits that take five minutes. Get those right and the arrangement looks effortless and lasts a week or two.
Quick answer: To arrange hydrangeas in a vase, strip the lower leaves, cut each stem at a 45-degree angle, then seal the cut end in just-boiled water for about 30 to 60 seconds or dip it in alum powder. Place stems in cool, clean water right away, match the vase opening to about a third to half the bloom width, and mist the petals daily.
Why Do Cut Hydrangeas Wilt So Quickly?
Because hydrangeas fight you at the cut.
The moment you cut a stem, it releases a sticky sap that starts to seal itself almost instantly. That seal blocks water from traveling up the stem. The bloom is still thirsty, but the plumbing is clogged. So it droops.
There’s a second reason people miss. Hydrangeas drink through their petals as much as their stems. A dry room pulls moisture out of the flower head faster than the stem can replace it. That’s why misting matters more with hydrangeas than with most flowers.
Solve those two things and wilting mostly disappears.
The Conditioning Step Almost Everyone Skips
Conditioning just means prepping the stems so they can actually drink. This is where the arrangement is won or lost.
Here’s the routine, in order:
- Strip the lower leaves. Anything that would sit below the waterline comes off. Submerged leaves rot and grow bacteria that clogs stems. Leaves also compete with the bloom for water.
- Cut at a 45-degree angle. An angled cut exposes more surface area to drink. Do it with sharp scissors or a floral knife, not dull ones that crush the stem.
- Beat the sap seal. Pick one of the two tricks below.
- Into water immediately. Cool, clean water, no delay. The longer a cut stem sits in air, the more it seals.
That’s it. Ten minutes for a whole bunch.
Boiling Water or Alum: Which Trick Should You Use?
Both open the stem back up so water can flow. Florists swear by both. Here’s how they compare.
| Method | How to do it | Best for | Notes |
|---|---|---|---|
| Hot water seal | Trim the stem, then hold the cut end in just-boiled water for 30 to 60 seconds until bubbles stop, then move to cool water | Reviving a stem that already sealed, or a floppy bloom | Keep the flower head away from the steam so it doesn’t cook |
| Alum powder dip | Dip the fresh-cut stem end into alum powder before placing in water | Everyday conditioning, garden-cut stems | Alum sits in the grocery spice aisle; it keeps stems from re-blocking |
| Vertical slit | Make a small 1 to 2 cm cut up the base of the stem | Extra water uptake on thick stems | Pairs well with either method above |
A florist tip that surprises people: if a stem floppy despite everything, recut it and dip the base in just-boiled water for a few seconds, then back into cool water. It’s a reliable reset.
The Full-Head Revival Trick That Sounds Fake But Works
This one comes straight from florist shop practice, and garden growers repeat it.
If your hydrangeas have already wilted, don’t throw them out. Submerge the entire flower head.
- Fill a sink or a bucket with cool to tepid water.
- Lay the whole bloom, head and all, into the water.
- Leave it for 20 minutes to an hour, turning gently.
- Lift it out carefully. It’ll be heavy and soaked. Let it drip and dry a little before arranging.
Because hydrangeas drink through their petals, the head rehydrates directly. People report wilted, sad blooms coming back to a fresh-cut look within an hour. Grocery-store hydrangeas that flopped in two days often bounce back this way.
How Do You Actually Arrange Them in the Vase?
The blooms are so full they practically arrange themselves. But a few choices make it look intentional instead of dumped.
Match the vase to the head. A good ratio is a vase opening about one-third to one-half the width of the bloom. The heads sit snugly and hold each other up instead of collapsing outward.
Build a spiral. Hold one stem, then add each new stem angled the same direction, turning as you go. This creates a rounded, balanced dome. It’s the trick behind that “florist made this” shape.
Choose stem length by look.
- Long stems in a tall vase for a statement centerpiece.
- Short stems in a low vase for a full, mounded tablescape arrangement.
- A single stem in a bud vase for a quiet, modern moment.
Don’t overstuff. Crowded stems can’t drink and wilt faster. Give them a little room.
Do You Need Other Flowers, or Just Hydrangeas?
Hydrangeas are happy alone. The heads are big enough that one bloom in a glass vase is a full statement.
If you want to mix, pair them with smaller blooms so you get a range of sizes. Greenery like eucalyptus or lemon leaf adds texture. Because hydrangea heads are heavy, mixing in structured stems also gives the arrangement support.
Here’s a simple seasonal styling guide.
| Season | Hydrangea shade | Pair with |
|---|---|---|
| Spring | White | Tulips and soft eucalyptus |
| Summer | Blue | Garden roses and lemon leaf |
| Autumn | Antique / faded | Copper beech, toffee roses, seed pods |
| Winter | White | Cedar, pinecones, silver brunia |
How to Keep the Arrangement Alive Longer
Once it’s arranged, a little upkeep stretches vase life to a week or two.
- Use clean water and a clean vase. Rinse out all soap. Bacteria is the silent killer that clogs stems.
- Cool, not hot, water for the vase. Tepid to cool. Hot water shocks the blooms. Add flower food if you have it.
- Change the water every day or two. And recut the stems each time, since they seal fast.
- Mist the petals once or twice a day. This is the hydrangea-specific move. The head drinks through the surface.
- Keep it out of direct sun, heat, and drafts. All three dry the blooms out.
- Keep it away from ripening fruit. Hydrangeas are sensitive to ethylene gas, which fruit gives off as it ripens.
For garden-cut stems, cut in the morning, choose mature blooms, and plunge them into water right there in the garden before you carry them inside.
Can You Dry Hydrangeas in the Same Vase?
Yes, and it’s the easiest dried flower project there is.
When the petals start to feel papery, stop changing the water. Just let the stems sit in the remaining water and let it evaporate slowly, out of direct sun. The blooms dry in place and keep most of their color.
Dried hydrangeas last for months. They’re perfect for wreaths, mantel displays, and fall décor. So even at the end, the flowers get a second life.
Frequently Asked Questions
Why are my hydrangeas wilting even in water? The stem sealed itself before it could drink, or the head is losing moisture to a dry room. Recut, use the hot-water or alum trick, mist the petals, and move it out of direct sun.
How long do cut hydrangeas last in a vase? With proper conditioning, usually one to two weeks. Grocery-store hydrangeas bred for cutting often last longer than garden-cut ones, but garden blooms revive well with the head-soak trick.
Should hydrangea stems be cut under water? Cutting under water helps avoid air bubbles entering the stem, which can block water uptake. It’s a nice extra step, especially paired with an angled cut.
Do hydrangeas need flower food? It helps. Flower food feeds the bloom, balances the water’s pH, and slows bacteria. If you don’t have it, a scrupulously clean vase and daily water changes do a lot.
Can I revive drooping hydrangeas without cutting them? Try misting and moving them somewhere cool first. For a real revival, submerge the whole head in cool water for up to an hour. That rehydrates the petals directly.
